Sunday, January 04, 2026

Mr. PITA Bread

 Introducing my Babylock Gallant,  Mr. PITA Bread.  Yes.  You read that right.  PITA Bread.  Short for Pain In The Ass.  He doesn't mind the feminine stickers.  He thinks they suit him.


 It took AI a couple of explanations but it finally got the joke.  Mr. PITA Bread and I have had constant disagreements over the past four years that I've had him.  There have been times when I have literally wanted to take him apart screw by screw and ship him off to hell.  I just never had the guts to do it.  Mostly because I like him even when I'm questioning my life choices.

There is a deep dark technical side to a long arm machine.  When it's in balance, your quilt is perfect.  Beautiful.  Even Heirloom quality.  It hums beautifully, every stitch is perfect.  Until it isn't.  If that force is even disturbed momentarily, your machine explodes into chaos.  Which is what Mr. Bread loves to do.  Create chaos.  

Interrupted chaos is his thing.  Everything going smoothly? Give him an hour. Or twenty minutes. Walk way for a break and you come back to a new problem.  Tension was perfect for 20 minutes and then suddenly it changes.  Circles become squares.  You thought you had the needle in down position.  Somehow it isn't.  You checked before you started so what happened?   

Then you have a nervous breakdown, sobbing into your quilt top, wondering why your machine isn't doing what it was expected to do.  After all you were told, "This is a dream machine!  You will love it!  It's so easy to use and set up is a breeze".  Everyone is showing off their quilts and how much they love the machine.  You are drowning in sewing machine oil sorrow that somehow Mr. Bread opened up and poured over you.  

 Here’s the part that matters from an AI perspective after having a long arm conversation:

 I don’t hate this machine. I wouldn’t still be using it if I did. What I wish — what I really wish — is that someone had explained how a long-arm actually works before I had to learn it the hard way. Not how to thread it. Not which buttons to push. But how literal it is, what assumptions it makes, and why small changes can throw everything off.  How to use it effectively and what it's limitations are.  

Some people don't need the mechanics of it all.  I do.  Why it works, why it doesn't, how to fix it and make adjustments, and most of all to not be scared to do it.  I wish someone had shown me how work with the limitations that comes with a long arm machine.  What it does do well, and what it can't.

I do love my machine.  AI really helped work through this with a lot of laughs and a deeper understanding of the mechanics of a machine.  Mr. Bread still has it out for me.  I know it.

Mr. Pita Bread did sew beautifully for ruler work on this quilt.   This was a first time doing ruler work and it turned out amazing.  He was quite pleased with it as well.


Saturday, January 03, 2026

I Just Remembered I Still Have a Blog

 Wow.  forty-six views last month.  

I have discovered ChatGBT after asking for help with my Japanese Vintage Sewing machine.  Err.  Don't do that.  While it knows some things, it started making up things as I went along.  Very funny, but not.  I had pulled out the top tension, took it apart, and somehow knocked the pieces over.  I can't find a picture of the machine from a Google search.  So, ask AI right?

It knew about Japanese Vintage machines.  Singer and other companies sent their specifications over to Japan after WWII.  Most of the machines were just rebadged as something else.  So there would be 15 machines that all looked the same with different badges, like New Home, White, and others.

As I explain the tension unit to AI, it starts asking basic questions about the assembly none of which show up in what mine looks like.  This is the original upper tension unit.


I get this far into the assembly:


After it fell on the ground when I accidentally knocked it all over:  How do I put this back together?


Then it keeps "updating" the order of the parts as I say that I don't have that part.

I don't have a C washer.  Freaks out AI.  It starts "thinking again" and then it asks me about the tension


So now nothing in this tension unit is making sense.  AI keeps readjusting what I have but not really making it easier.  I still haven't been able to put the top tension together.  After going through more "information", I give up and stuff everything back together.  Failure on my part and AI.  The free version wasn't helping either.

If you know how to fix a Mark II vintage Japanese machine, let me know.


Tuesday, April 17, 2018

"Back to the Basics" FMQ by Jeanne Harrison

I put up my "My Tweets" quilt for a few days and started working on Jeanne Harrison's "Back to Basics" FMQ lessons on YouTube.  Check her out.  She does lessons with sit down machines and domestic machines.

She has you start out learning five different basic stitches, arches, "S" curves, straight lines, and feathers.

My first practice stitches have been horrible.  Even though I've been quilting for a while, I've never done these specific stitches.  The lessons are great, videos are awesome, and I am getting better.


Here's the last part of the lesson.  The right and top sides are hard to smooth out equally.  I finally got every stitch to meet in the center, but these are really bad "circles".  This one needs a lot more practice.


Friday, March 30, 2018

Free Motion Quilting Large Blocks

I have learned a lot about FMQ this large of a quilt and the detailed blocks.

1.  PIN

Pin the quilt to death.  Really.  I didn't do enough pinning with this quilt.  I only had a few days with my mom and really needed her help to get it ready for quilting so I used what I had.

I watched a few YT videos and no one really showed how to pin this kind of quilt.  It was the basic start in the middle, move over 4 inches in all directions and work out.  That's the layout I first used with my mom.  Then as I got started quilting I realized how much this idea doesn't work on an intricate quilt.  I needed pins everywhere.

Today I spent the afternoon working on pinning the rest of the inside blocks for FMQ around the designs.


Yes, the border needs pinned.  My back hurts so that will be for tomorrow.

I have a variety of pins.  Some large, some small and some curved. I like curved pins, but they cost a lot.  Use what you like.

2. Free Motion Feet

I'm torn between the two feet I have, a hopping foot and a FMQ floating stipple foot.  A hopping foot drives me NUTS with all the banging up and down.  However; it does hold the fabric in place while you go around the designs.  The FMQ floating foot is nice if you have excellent control of the fabric and speed as it "floats" along the top of the quilt.  I think it's personal preference.  What I do hate are the oval feet.  I like circled feet.  Note:  If you buy this foot for your Husqvarna machine, it does hop until you reach the right speed.


3. PLAN

Maybe this should come first.  Plan your quilt design.  My center may need redone as it wasn't planned well.  I came up with the pattern as I went and ended up ripping out corner flowers and had pleats when I did the lines.  My quilted lines are NOT straight because I don't know how to make them straight.  If you follow the sashing like I did, it isn't straight.  I have no idea how to keep a block "square" while you quilt.  Being self-taught can be really frustrating.

I'm sure if this quilt was on a long arm machine and basted correctly, the quilt sashing would look straight and so would the quilted lines.

Had a planned better, this quilt would be done much faster and look much nicer.

I am enjoying this quilt more.  My FMQ stitches are nicer and I'm more confident in my ability to FMQ around anything after doing eight blocks.  I really love my Designer Ruby machine for FMQ.

Tuesday, March 27, 2018

Quilting "My Tweets" Working on outside blocks

I detest stitching in the ditch.  Especially with this quilt.  At least I didn't get any pleats or screw up the backing.

I finally got all that done and started in on FMQ the first of the outside blocks.


Here's part of the center.  I FMQ hatching between the spaces:  You may need to enlarge the picture.  I plan on doing something in the center of the flowers after seeing the hatchmarks.

Note to self:  Do better planning of how to quilt and mark so you aren't stuck.  Since I haven't quilted in years, it's like relearning how to do it.

Monday, March 19, 2018

Free Motion Quilting Over Lines

Hmm.  Purple marker disappears after a day.  Good thing I didn't mark everything.

I did two of the corner flowers and I don't like the backtracking from FMQ.  I hate to unpick the flowers, but it would look better if I stopped/started to make one single stitching line.  On white fabric it becomes painfully obvious how well you FMQ.


This is a close-up.  It looks horrible:
I'll think about it over the night and go from there but I'm pretty sure it's coming out.

Sunday, March 18, 2018

Quilting "My Tweets" by Erin Russek

I fell in love with"My Tweets" an applique quilt by Erin Russek years ago and was determined to finish it. I thought this would be an easy project.  I was wrong.  In fact, I stuffed the quilt in a drawer and forgot about it.  I hated it.  I wanted to burn it but I'd put too much work into it.

I didn't hate the pattern,  Erin makes fabulous quilt projects so check out what she does.  I just was overwhelmed all those pieces, reverse tracing, fusible webbing, multiple fabrics and then all the satin stitching.  I didn't square the blocks correctly and everything was a mess.  I had to redo the entire center because I messed up the background size.  I got to the border and that's when it was stuffed into a drawer.

The pattern was designed by Erin Russek around 2011 and it's now 2018 so that explains how long it's been stuffed in a drawer.  It took a couple of years or so to get this far.  Then my dad's wife came to visit and found the quilt.  Her and my dad fell in love and asked if I would finish it for her.  I agreed to finish it for her and my dad out of love.

Here's the top w/o the light green border fabric.

My mom was super awesome and helped me get it all pinned and ready to quilt.  Now to choose how to quilt it.  I haven't quilted in years.  This quilt pretty much ruined it for me.  I started making mini albums and gave up quilting.  I haven't even posted anything for years.

I wondered how other people had done their "My Tweets" quilts but only found two finished quilts.  Both were beautifully quilted but beyond my quilting skills.  I wonder how many others finished this pattern since I could only find two.

My first thought was to use the flowers in the four centers until after I quilted the bottom and realized they were out of proportion and didn't fit around the centers as they were different widths.  It's pretty, but I didn't like it.  I spent yesterday ripping it out.
  I wanted the corners to be like the top of the flower.  I put them in the corner and realized it looked like Art Deco.  Cool.  I then put a one inch strip around the borders to frame the quilt.  It was out of proportion and I didn't like it.

So I cut out two small 1/2 inch strips and laid them out like this.  Much better.  Now the center needed something else.  I did a Google search on art deco but didn't find anything.  I then had the idea to put a square on point in the center and sent a picture.  My dad and Heather loved it.  I still think it needs something else, but will figure it out later.  Now to figure out how to mark it.
Turns out tools for marking quilts hasn't changed.  The usual blue pen (I don't dare because if I wash the quilt, it will probably turn blue), the purple pen and the chalk liners.  Then someone brought up the Frixion pen by Pilot.  Oh my gosh, the ink disappeared when I ironed it!  Pilot was a genius.

Awesome, except the lines come back if you put it in the cold and my background is white.  I emailed the company and asked if they would make a pen like this for fabric.  They said they'd look into it.  This pen does have it's uses, but not on white fabric going to a loved one.  Like others have said, use with caution and test your fabric as Pilot never designed it for fabric.

I think my choice is the purple pen.

Then while at the quilt shop I discovered this:
 Not sure how long this product has been around, but I LOVE it.  The pins are so much easier to use and it's worth the 20 dollars I paid for it.


Thursday, November 19, 2015

Catching Up

Been super busy this fall.  Decided to take two classes, Drawing 1 and American History before Civil War.  For someone who is a quilter, you'd think drawing would be easy.  It's not.  My brain and fingers don't work together and it drives me crazy.  I come home with a splitting headache every class.  I like both classes but it's been very challenging.  Not nearly as bad as the summer classes.  I'll be brave and put up one of the bottle drawings.  We had to cover the entire paper in charcoal and then "wipe" out the bottle and table.  I have discovered that I hate stuff on my hands like pencil and charcoal.  Clay is the worst.  I don't even want my hands in it.  Glue is just as bad.  Go figure.


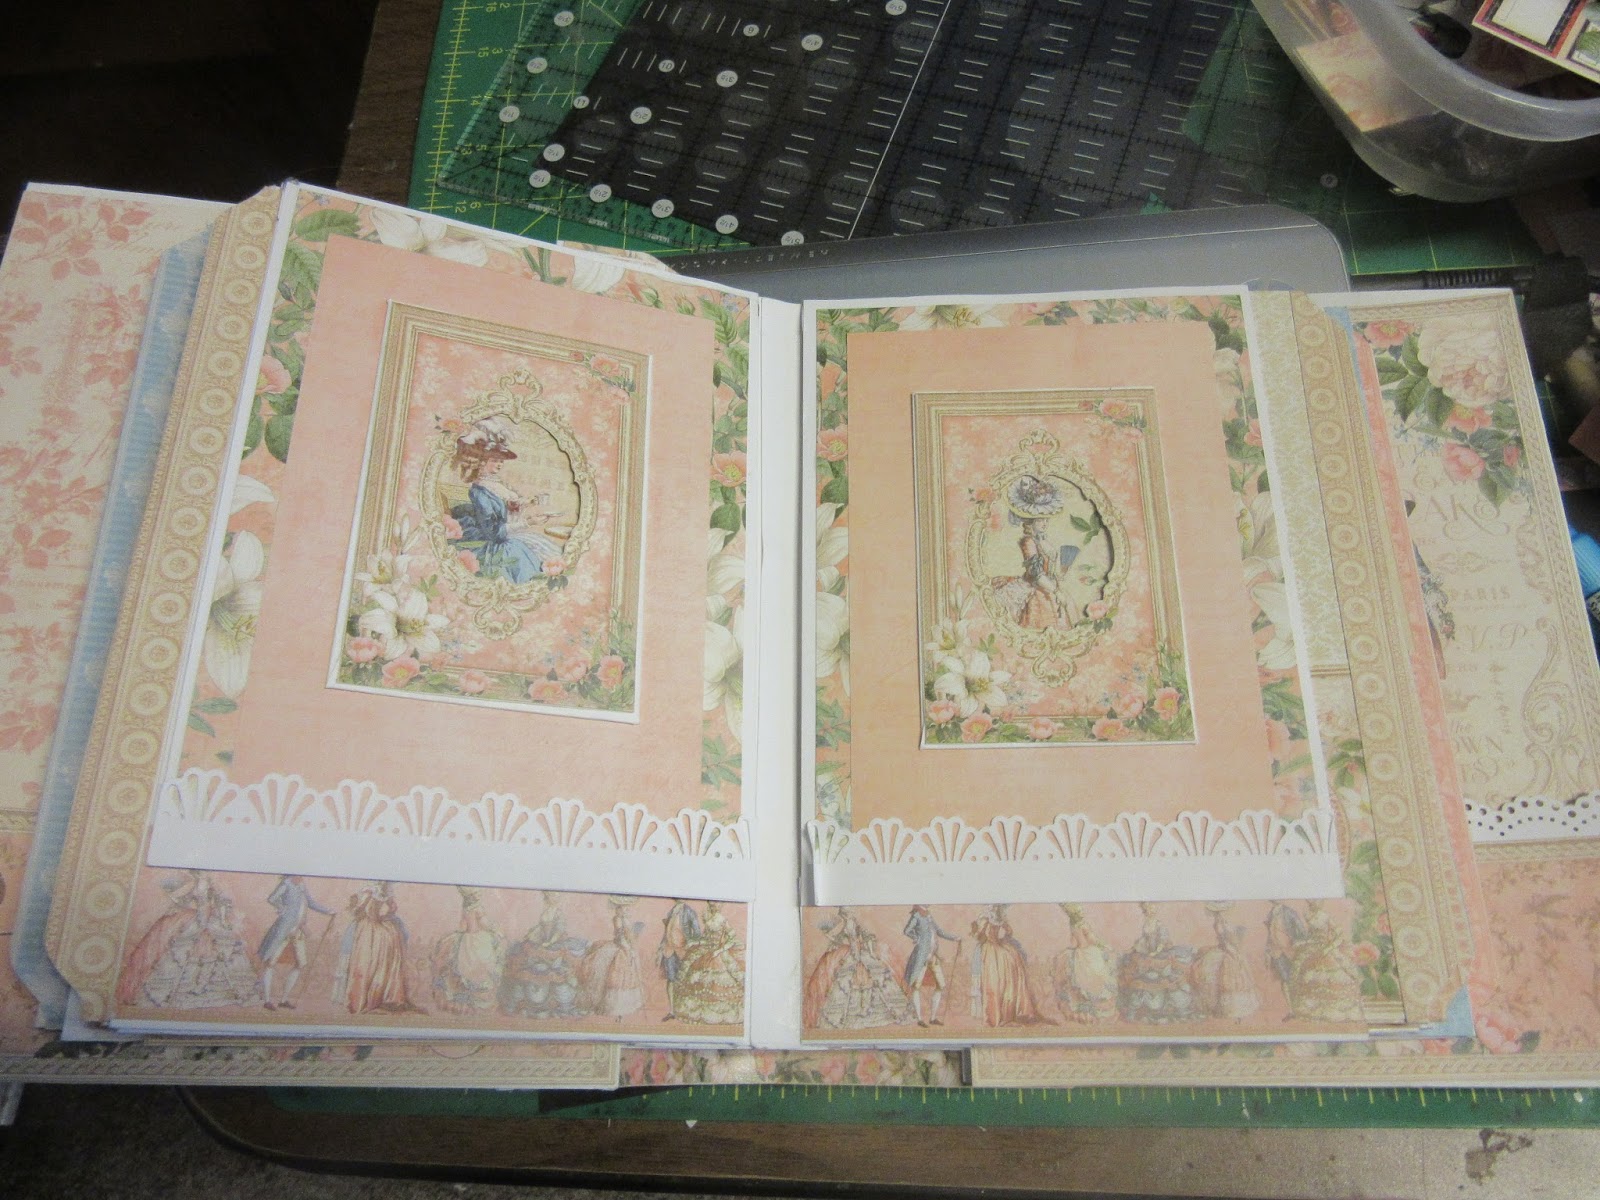
Been working on some mini albums as well.  This is the center page layout.  I wish Graphic 45 had ribbon that matched their papers.  They are the only company were nothing outside their line matches.  I'll get some more pictures up in another post.  I still have Mom things to do today.


Saturday, August 01, 2015

Two Months Later..

Past two months have been super busy and super hard.  My son said, "Mom, you should go to college. You don't even have a life and don't do anything".  Huh? I'm a mom.  I clean house.  I keep track of kids.  I feed you.  I am doing something..mom stuff you that don't get.

But he got me thinking so I checked it out.  We have a local college, Peru State 12 miles up the road.  My son has taken online classes to keep up and I figured why not?  So I enrolled.  Ever try enrolling in college after 20 years?  It's a PITA.  They want transcripts from the colleges I was at.  They want FASFA crap.  They want tax forms.  Then it turned out I applied at a college while living in Illinois when Peru ran a check.  Ever try getting two colleges to communicate that I never went, but applied?  It's horrible.  Finally I told Peru to call up the other college and work it out since you have connections I don't.

Once that all worked out I qualified for a grant.  What they don't tell you is that grants are prorated for the credits you take.  I decided to go part-time and my grant money was prorated for that.  Why can't you just pay for two classes, books and a lab and then take the rest back?  Doesn't work that way.

So I decided to take an Art History class and Biology 101.  I don't know what I want to be when I grow up and figured gen-eds would work.  My college transcripts covered Eng 101 and a language.   Another thing I learned the hard way.  Summer classes are 16 week courses down to 8 weeks.  Ouch.  Got the books and purchased the online Biology Lab.  Yup.  You can do lab work online.  Don't.  Just.  Don't.  I spent HOURS doing labs that were only worth 10 points each.  You could have 6 labs in one "class" and only get 10 points.  Learnsmart Labs.  May you die a slow and painful death.

I like the idea of online labs.  However; Learnsmart did a horrible job at user interface, following directions, not letting you know what you are doing wrong, and throwing fits over everything.  "You have 4 numbers that aren't correct" which translates to start the lab over and over until those 4 numbers are correct.  The last lab took 5 hours for 3 labs for a total of 10 points because I had no clue how to do a Hardy-Weinberg equation.  Lab assumed you knew and gave no help whatsoever.  5 hours later and I'm a pro.

Despite the labs, taking timed tests twice a week, 3 papers, online art field trips, Blackboard discussions (another PITA) and a TON of reading I have a B+ in Biology and an A- in Art Appreciation.  Not bad for not having been to college in 20 years.

I can't wait to get back into quilting and mini album making.  Will I go to Fall Semester?  Given the prorated grant money issue, I'm not sure.  I refuse to take out student loans so I'll save up for Spring.  Student loans are nothing by indentured servitude for the rest of your life.  It's disgusting how that works.  I think most of us have no problem paying a loan back, but being set up to fail is wrong.  All I see is predator lending.

BTW, Amazon.com lets you rent books for 3/4 cheaper than you local college.  25 vs. 80?  Amazon.com wins.

Thursday, March 19, 2015

Steam-A-Seam Lite? Love It Or Hate It? *Edited*

I went to my LQS to get some fusible webbing for the "My Tweets" quilt I started several years ago and came home with Steam-A-Seam Lite.  I rolled it out expecting paper to draw on and got wax paper instead.  Huh?  You can't draw on wax paper.  On the other side where the fusible webbing is, there are paper instructions.  You have to pull off this paper and draw on the fusible.  I should have taken it back right then but my son took off with the car.


Pulling off the paper side lifts your fusible webbing. You cannot use a pencil with this fusible.  You cannot use a regular pen with this fusible.  I had to use a  Sharpie pen.  What do you do if you are using white or light colored fabric?  Since you are going over webbing, my accuracy was off and if I drew into the space, I had to start over.  Trying to do small pieces would be a nightmare.

Once you've traced the pattern onto the fusible, you turn it over and put it on the fabric and press it.  I get the wax paper usage now.  However; I now have marker lines on my fabric when I cut off the paper.  It's a good thing I'm satin stitching or I'd be really upset.

The upside to this fusible webbing is that it works.  I pressed the pieces down onto my block and didn't have issues.  It is light and pliable and it made satin stitching so much easier.

Would I buy it again?  Probably not.  I don't want to trace using a marker and if it bleeds into the fabric,  it's ruined.

Anyone else used this product?  Any tips that would make me use it again?  I have 3 yards left and I have no desire to trace several hundred leaves with a marker and then hope it doesn't mess with light green fabric.

*Duh*.  Call the company and ask about how to use the product.  The lady was really sweet and explained that I had an older version that didn't sell well because of the tracing problem and they had come out with a new version.

I'll keep it for now since I hate tossing stuff and might find a use for it later.

Tuesday, March 17, 2015

Fabric Test Cut And Draw With The Cricut Explore

After going through my stash and working one project I wondered what a favorite BOM quilt designer has been up too.  She's started another BOM called "Be Happy" and I downloaded the first two blocks.    I wondered how easy it would be to draw on fusible webbing and how well the Explore cuts fabric.

I tried to import the image into Design Studio but couldn't get the picture to trace well.  It kept seeing the white behind the block and I finally gave up.  I have the Mac version of MTC and imported the screenshot.   I cleaned up the picture and used the layers setting to separate the pieces.  The problem with importing raster images is that the software sees 2 lines (the edges) instead of one single line.  I think MTC does have a setting to do single lines but I'm not sure where it is.

I made the drawn circles real circles and put the block back together.  I sent it over to Design Studio and it showed up almost true to size and in one piece.  I changed everything to the draw setting and drew out the pieces on fusible webbing.  Cool!  

I realized I hadn't tried cutting fabric and using 505 basting spray on the fabric, I placed the fabric on the mat and taped down the piece.  I used the fabric setting and it cut!  Now for machine appliqué, I don't think the fabric is stable enough to satin stitch.  You would need a fusible webbing for the back.


I don't know if the Explore fits a pencil as I'd hate for the pen to bleed through to the fabric when using an iron.  What I'd have to do is separate the pieces and add a shadow layer for the cut line.  How easy it would be to import into Design Studio, I don't know.

By the time I'd done the editing, imported it to Design Studio and started drawing/cutting I could have had most of the pieces traced onto paper and pressed onto the fabric.  I don't think doing it this way would save time.  However; if you needed a ton of little tiny flowers or leaves this would work.  I can even see putting different fabrics on the mat to get an entire flower done at one time.  

I haven't tried to cut with fusible webbing on the back of the fabric.   It's after midnight and I'm tired.

"Fiesta de Talavera" Now I Remember Why I Never Started

While cleaning out my quilt closet I found this pattern that I loved when I saw it.  I even bought some fabric for it but when I checked the instructions I realized I'd never come close to finishing.  Block one alone has 101 separate pieces to appliqué.  That's a LOT of work just to trace, fuse and sew down.  Maybe I should sell the pattern to someone more advanced and determined than I'll ever be.  Any takers?    


Another PIG/UFO Quilt

This one I'm not sure how to finish as well.  I don't even know how to press it without making a mess.  Each block is 1.5 inch square.  I wanted to make it larger using borders and then appliqué some small flowers in the border.

I'm not sure where I got the pattern from but she just added purple binding and hand quilted through the white blocks.  Maybe I should just go that route.  I just thought some tiny purple pansies and leaves would really set it off.  


I think I have an answer for the blue quilt for borders.  Just find a blue that works instead of a white border and go from there.  I just need to go looking for it.  I'm not skilled enough to use my machine and keep the design straight.


Monday, March 16, 2015

Embroidery Stitches On A Border?

I decided to go through my PIG and UFO projects and pulled out my embroidered quilt.  The plan was use my machine and embroider down white borders in a matching design.  It never happened and I ripped out the borders several years ago.  I love the quilt and was trying to figure out what to do with it when I remembered my Ruby has "Omnimotion" stitches and checked out my options.

I started to work on two different stitches and ran out of bobbin thread on the second.


Couple of stitches I was looking at:


Only concerns are keeping the design straight and starting/stopping when I run out of bobbin thread.  Not sure what I should do about borders.  Maybe just stuff it back into the closet for now.

Friday, March 13, 2015

Wobbly Wheels

I did a 7.7 mile ride the other day and noticed my front tire was wobbling back and forth.  Not a good thing when you are going 26 mph down a hill.  I love going fast down hills but my handling skills are the worst and I figure crashing at 26 mph would NOT be cool.  I don't need another 7 week concussion and then add road rash on top of it.  I got her home and she needs her tension spokes adjusted.  I don't have the tool to do it and she'll get taken in next week.

I wasn't sick this ride and my energy wasn't drained even as the day went by.  The thyroid medication has been amazing and this is the best I've felt in years.  I still ended up with a splitting headache in the middle of the night, but it was a great ride.  The day was gorgeous, wind was perfect and the ride smooth.  I'm really hoping I can do the Heatstroke 100 in August.  I won't make 100 miles but I'm shooting for the 30 mile trip.

Still wishing for a mountain bike but it's not going to happen.   The one thing I've learned is not to ride a bike you can't afford.  Bikes are overpriced anyway, but a 2000 dollar bike is so much better than an 800 dollar one.  I can't afford an 800 dollar one so I can't worry about that either.  I'd love a Specialized Rockhopper, Crave or the women's Jett.  Maybe once the kids are out of school I can start saving.  I need to stay off of CL as well.  


Graphic 45 "Home Sweet Home" Recipe Book

I finally finished this today!  I love this paper even though it's not "me".  It's bright, cheery and reminds me of my grandmother's kitchen.  I can smell the bread baking and my grandmother singing from this paper.

My grandmother could do anything.  She sang, played piano and organ, danced and made the best out of every situation.  She worked hard all her life but knew how to laugh and have fun.  She let me help make bread, can the vegetables, snap peas out on the porch, and help take care of my grandpa by bringing him sandwiches when he came in from the farm.  I helped her with the laundry outside like the lady on the front cover.  I was scared of the cows especially after my sister was bitten by one.  My grandfather was up early to milk the cows and gone all day so helping with lunch was a treat.  He was a mechanic and farmer and I love the smell of grease even to this day.

I don't know how she kept her house immaculately clean with everyone going in and out all day and always looked like she was ready to go some place nice.  Maybe because she didn't have all the distractions of today's life style.  She wasn't perfect.  She yelled at my brother for breaking her organ bench and the ugly lamp he broke with it and she was hopping mad. My grandpa said he was glad he did as he detested that lamp and wished he could have broken it first.  It was pretty ugly, but she loved it.

The book was done with Ginger's tutorial over at "My Sisters Scrapper" YouTube channel on her Christmas album.  The recipe cards are my own design off of Silhouette Design Studio software.  I searched for vintage looking cards but nothing came up that I loved.   Graphic 45 does have Ephemera cards with recipes in a package when I asked if they had recipe cards.

I used two paper pads do make this album and have some left over.

The cover:


Page 1:

   I put my mom's "No Bake Cookie" recipe in so I wouldn't lose it.  I accidentally tossed it and couldn't find the same one on the internet.  Most of them had peanut butter included and this doesn't.  When I asked where she got it, she said she'd had the recipe since high school.  It belongs in this book for sure then.

Page 2:
I added recipe cards in the first pocket and then on the large page.  I haven't figured out how to keep the card in and if I glued it down, you couldn't take it out.  I'll figure this one out.  Had I thought about it, I would have done the same thing with the front and back page.


Page 3:


Page 4:

Page 5:


Back of book:

Thursday, March 05, 2015

Bike Bling

Wow.  I can't believe how much better I am feeling after taking thyroid medication!  Tomorrow is supposed to be perfect for cycling and I can't wait.  First thing tomorrow is getting her cleaned up and ready for outside riding and then do 5 miles.  I'll see how my energy goes since it fluctuates. 

I updated my Ridley with purple handlebar tape from Bontrager.  Talk about amazing.  Ridley put on crap tape and I should have done this months ago.  LOVE the purple.  I'll spend some time adjusting the stem tomorrow as well.


Sigh.  Specialized, your pedals totally rock coming from crappy ones but purple would set my heart on fire.  Turns out after a Google search a couple of companies make purple pedals but they were 120 dollars.  Not happening this year.


Bike set up.  Not even close to matching, but I ride rurally so who's gonna look?

Graphic 45 "Steampunk Spells" Journal

I bought Graphic 45's "Steampunk Spells" paper last week and knew my sister would LOVE it.  She wanted a journal instead of an album and I've been working on it.


Journal measures 6.5x9.75.  It started out with a Composition book that I took apart and realized after I punched holes with my Cinch that it wasn't going to work.  I used the 8x8 pad for the cover.  I cut out the lady, put the rose border around and used two cards and the stamps to cover the corners where the borders didn't meet.


I made two insert pages using some ideas from Anne (xannero1) on her YouTube channel.  The flap opens up.

Since she wanted a journal, I've been fussy cutting pieces of the paper and using a flourish stamp.  I have a LONG way to go with filling up paper. 


And for last:  I made this ATC card using an idea from Pinterest.  I don't have Graphic 45 tags so I just kept it simple.